Step 3: Add the Good Stuff
Layer in this order for perfect structure:
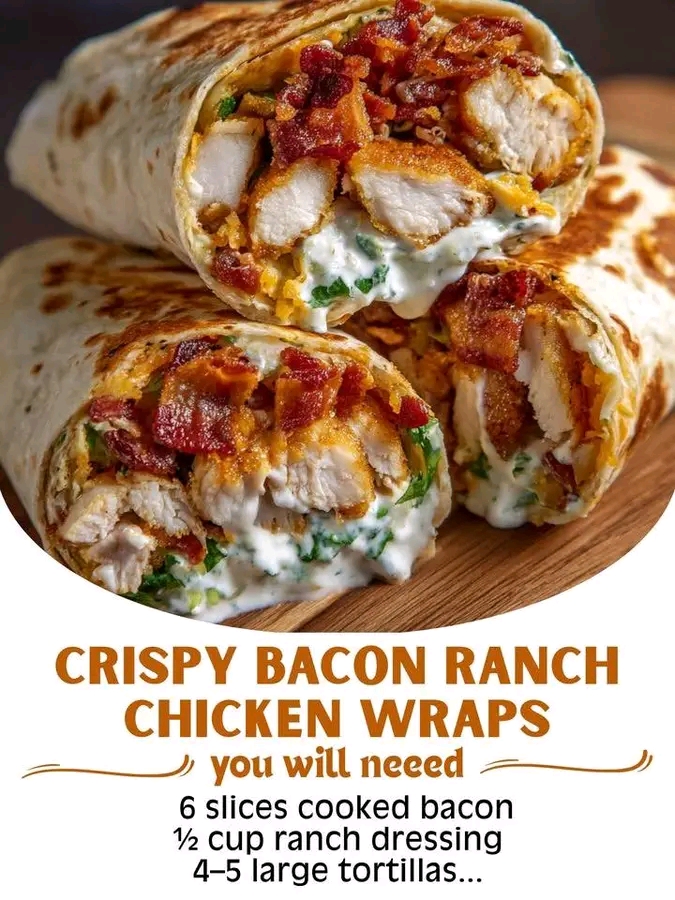
- Chicken
- Bacon
- Cheddar
- Lettuce
- Optional tomatoes or pickles
Step 4: Wrap Them Tight
Fold the sides inward, then roll tightly from the bottom up. You want to keep all that cheesy goodness inside.
Step 5: Crisp to Perfection
Place wraps seam-side down on a baking sheet.
Bake 10–12 minutes, until the cheese melts and the edges are beautifully crisp.
Step 6: Serve
Slice each wrap in half and enjoy them hot and melty. Prepare to fall in love.
Tips for Perfect Crispy Wraps Every Time
- Lightly spray the wraps with oil before baking for extra crispiness.
Use freshly cooked warm chicken—the warmth helps melt the cheese faster.
Don’t overfill or they’ll burst.
If you want max crisp, flip halfway through baking.
Storage Instructions
Refrigerate: Store wrapped and sealed for up to 3 days.
Reheat: Air fry at 375°F for 4–6 minutes or bake at 350°F for 8–10 minutes.
Freezing: Freeze tightly wrapped for up to 2 months. Thaw overnight before reheating.
General Information
- Yield: 4–5 wraps
- Prep Time: 10 minutes
- Cook Time: 10–12 minutes
- Total Time: 20–25 minutes
FAQ – Homemade Crispy Bacon Ranch Chicken Wraps
Can I make these wraps cold instead of baked?
Yes! They’re great cold as on-the-go lunch wraps.
Can I meal prep these?
Absolutely. Prep, roll, and store them unbaked. Crisp fresh when ready.
Can I use store-bought cooked chicken?
Yes—rotisserie chicken is a lifesaver here.
What cheese melts the best?
Cheddar, Monterey Jack, or a Mexican blend all melt beautifully.
Conclusion
These Homemade Crispy Bacon Ranch Chicken Wraps are exactly the kind of comfort food you can whip up on a busy weeknight while still feeling like you’re treating yourself.
For Complete Cooking STEPS Please Head On Over To Next Page Or Open button (>) and don’t forget to SHARE with your Facebook friends.


